Matchbox Advent Calendar
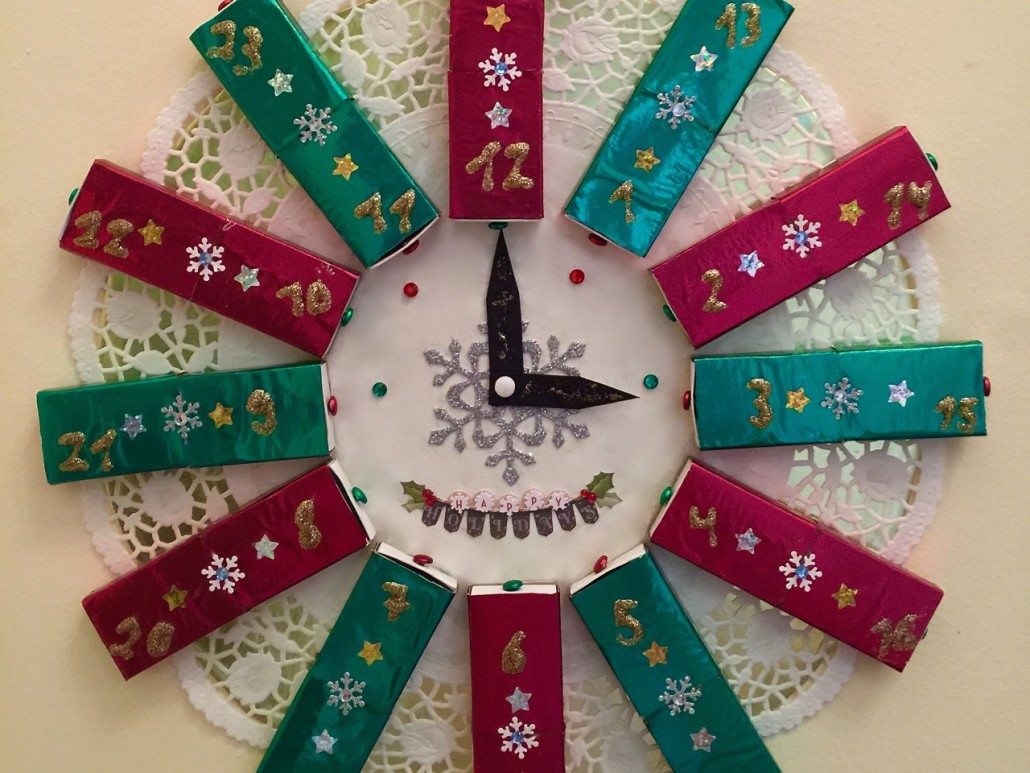
Matchbox Advent Calendar – Children will have a great “time” making this Advent Calendar. See why.
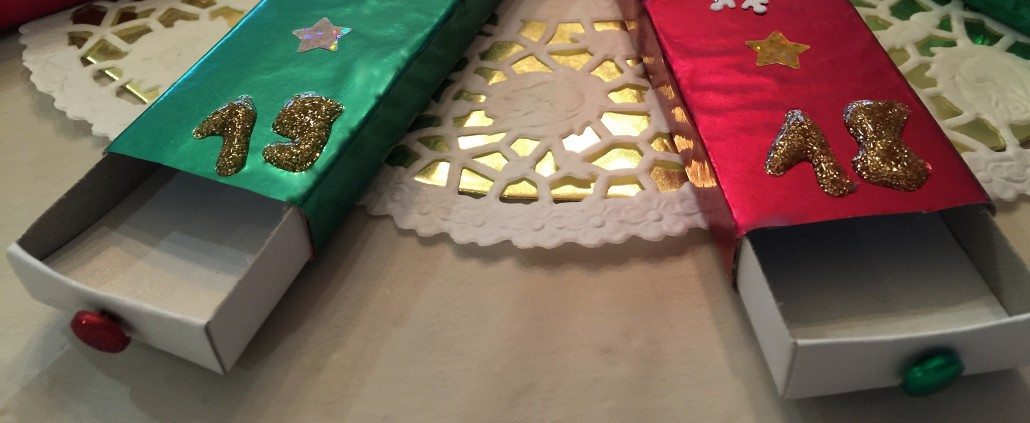
A matchbox advent calendar counts the days until Christmas Eve starting on the 1st of December and ending on December 24th. These calendars come in different shapes, sizes, and themes. Each day, a little door or window is opened often revealing a special treat for children who greatly anticipate the coming of Christmas. This particular advent calendar is made with boxes— which can be filled with tiny goodies. Every day is a surprise. What will that little drawer reveal? That’s up to you. It’s all part of the magic of this heartwarming holiday.
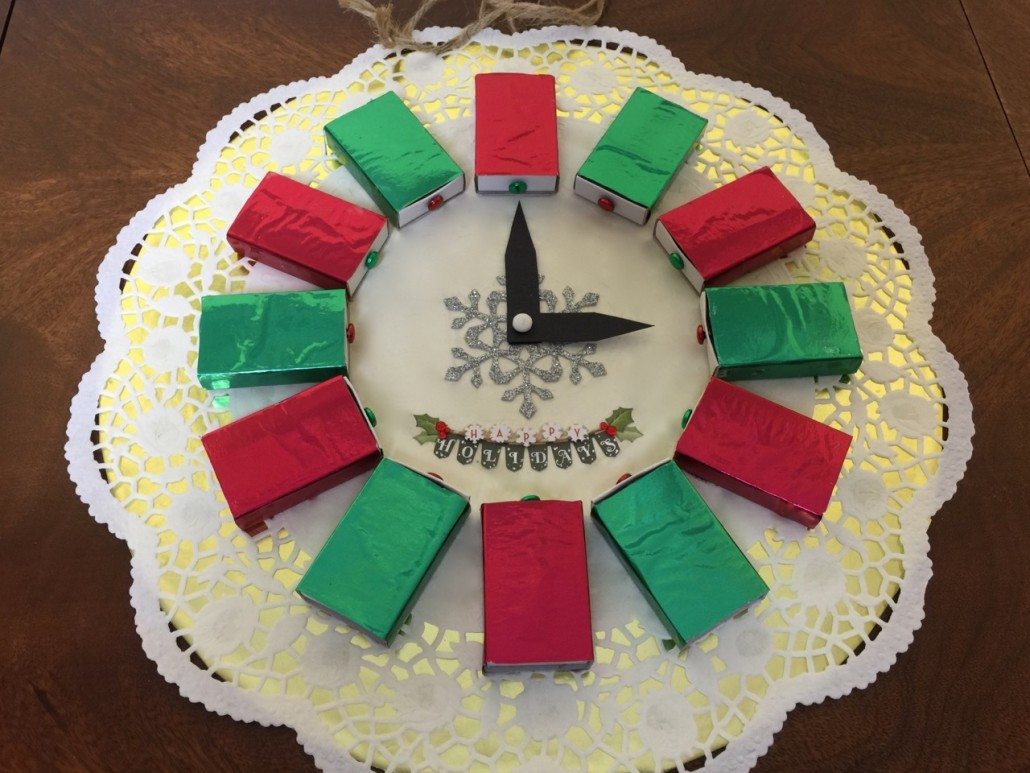
More than a matchbox advent calendar, this unique holiday craft is also a clock that can help you teach little ones the time. The numbers on the matchboxes correspond with both hours and dates. Your children or grandchildren will love to play along as they will soon understand that every 24 hours brings them one day closer to Christmas. Go ahead, put on some holiday music and make this advent calendar a family affair. They’ll be more than happy to lend you a hand in no time!
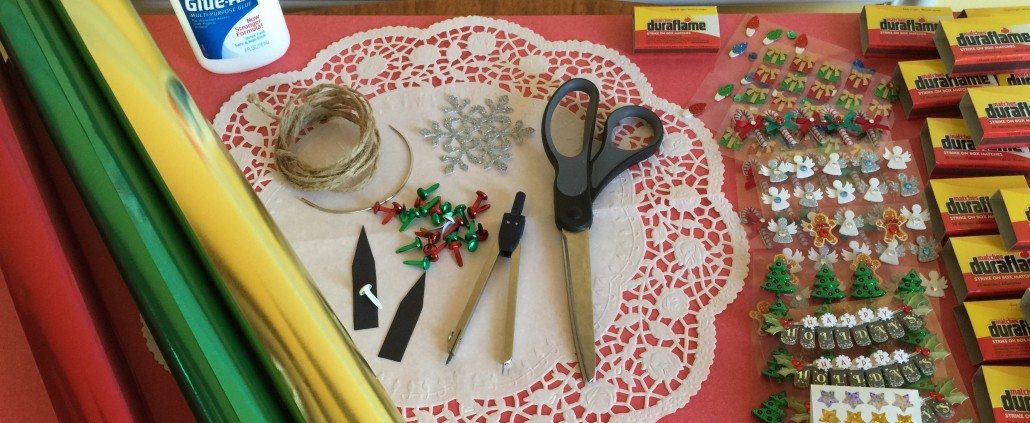
What you need to make a matchbox advent calendar:
- Poster board OR any other type cardboard
- Doily (14 inches)
- Gift wrapping paper (in either solid colors or Christmas themes)
- 24 empty matchboxes
- 24 brads for drawers
- 1 brad to hold the clock hands
- Stickers with Christmas/winter themes
- Stickers (OR) glitter glue for the numbers
- String (about 16 inches for hanger)
- All-puporse glue
- Scissors
- Compass
- Thick darning needle
Preparation of the Advent Calendar:
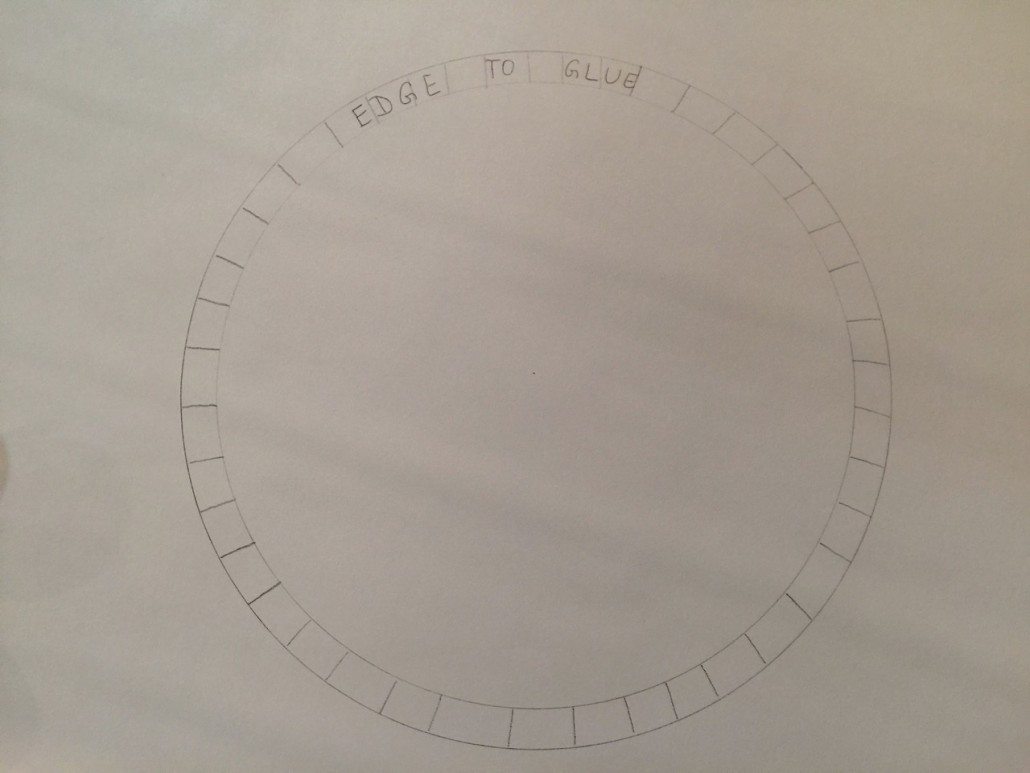
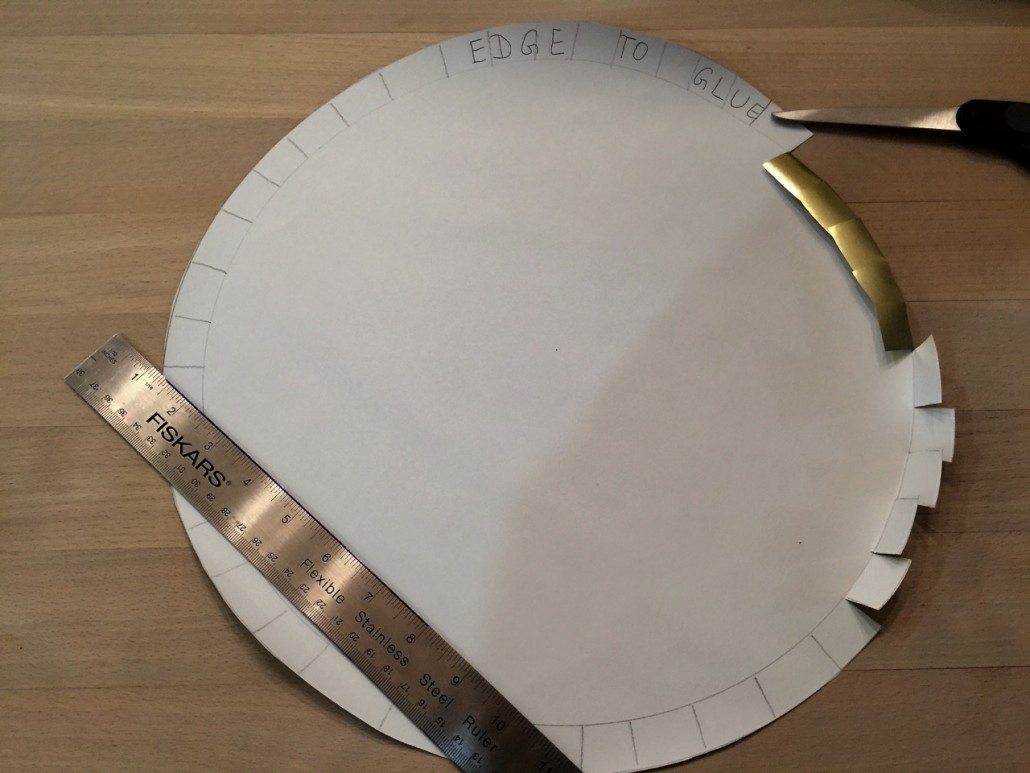
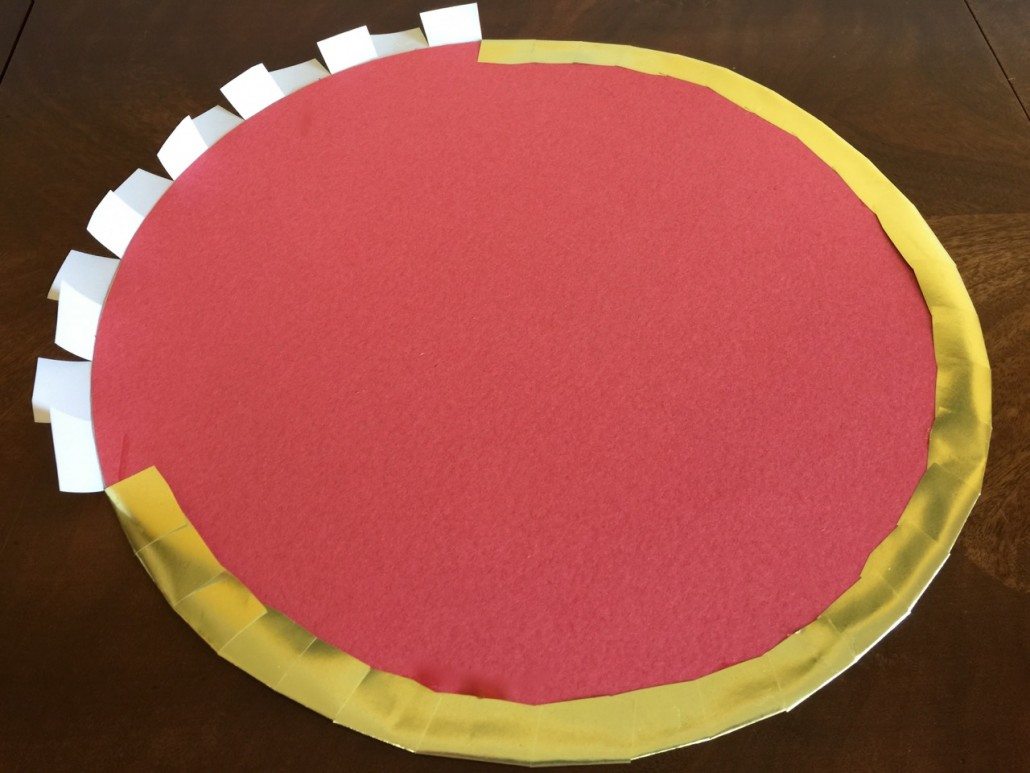
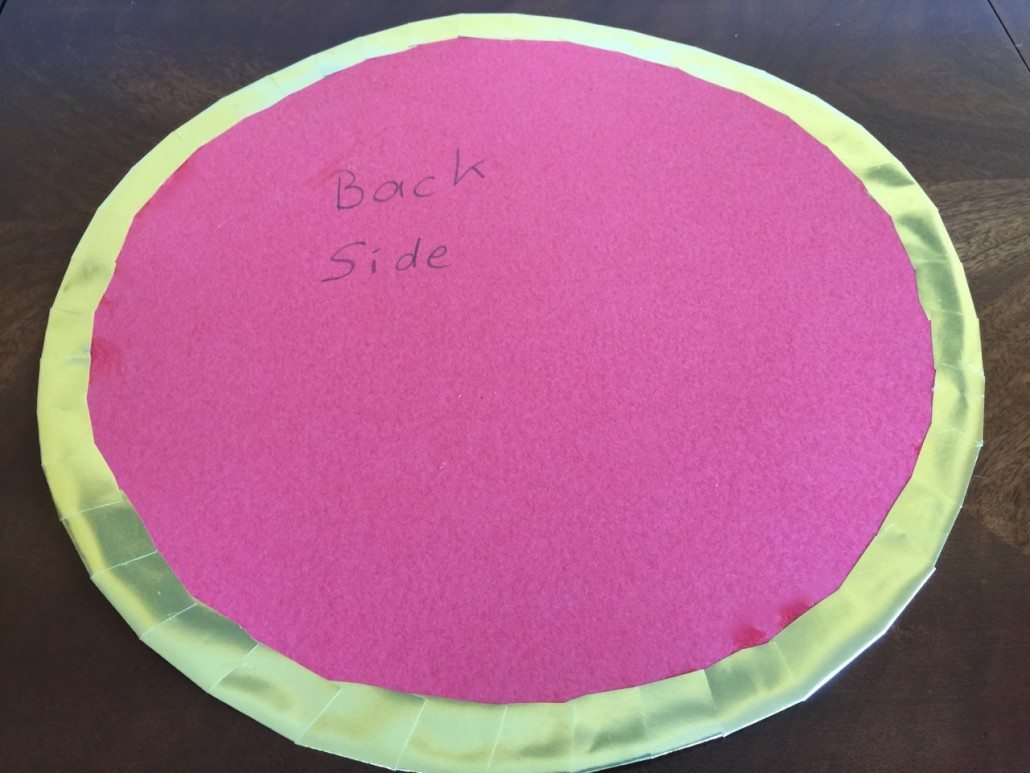
Draw a circle of 13.5 inches on your cardboard and cut it out. If you want to cover it with paper, use your compass to draw two circles on the back of your wrapping paper—one that’s 13.5 inches in diameter and make the other 14.5 inches. Cut out the outer circle. Cut the lines between the two circles about 1 inch apart all the way around. This will be the edge that gets glued to the back of your cardboard.
Center the doily on the front side and glue it down. Cut out two clock hands one about 3 inches long and the other 2.5 long. Both should be a half inch wide. Center the large clock on the doily and glue it down at the 12 o’clock position. Use a brad to attach the smaller clock hand on top of the larger clock hand in a way that it can be moved.
Finishing the Advent Calendar:
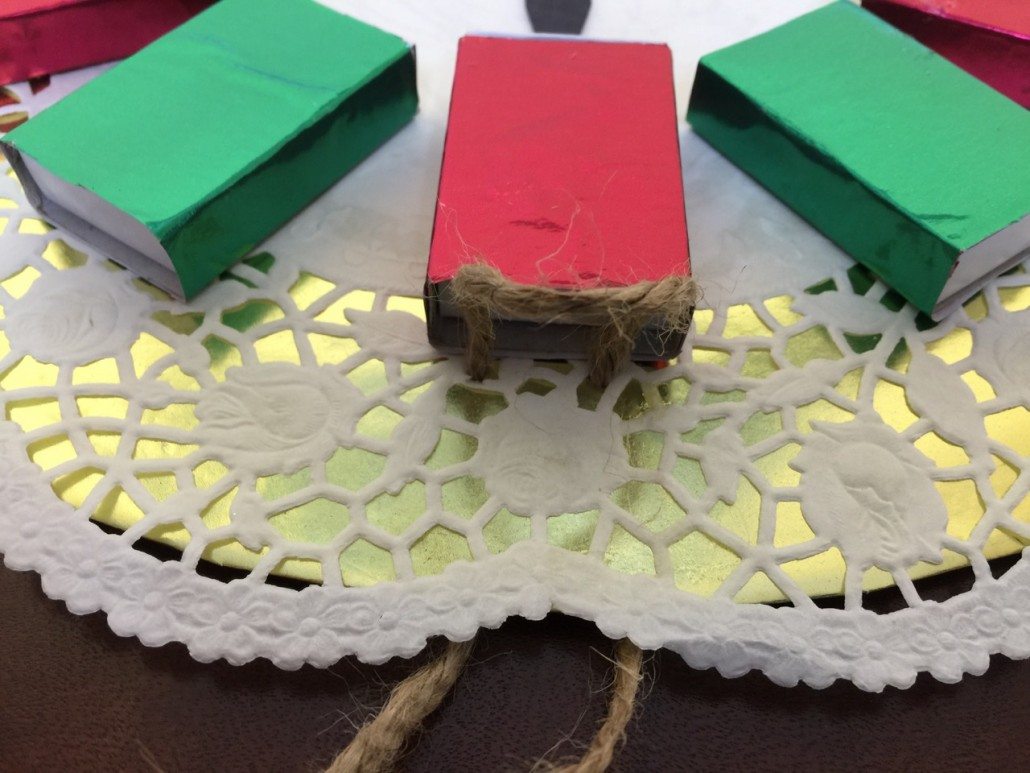
Take the tray inserts out of the matchboxes. Have the matchboxes covered and glued with wrapping paper and glue them evenly in a circle starting with the 12 o’clock matchbox, this will serve as the inner circle of matchboxes, outer circle will come later. The distance between the brad in the center and the lower edge of the matchbox should be 3 inches. With a darning needle, set the string just above the 12 0’clock matchbox sewing from back to front and then front to back and tighten. The two loose ends are in the back. Make a knot, and use it as a hanger for the clock.
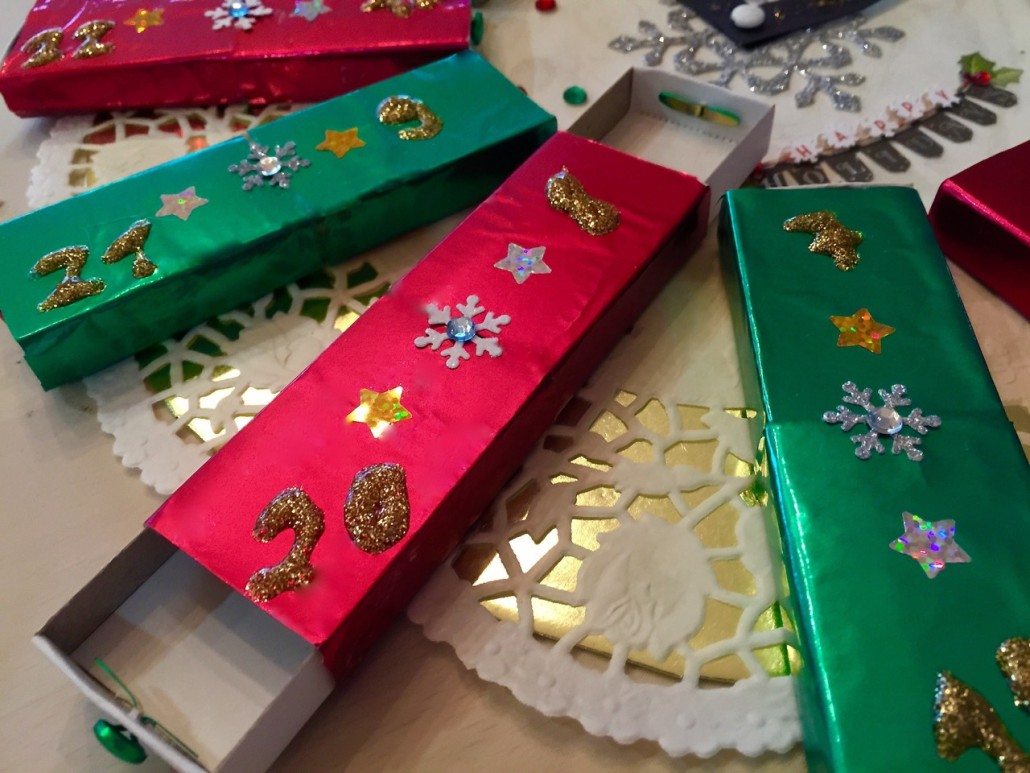
Now, glue the outer circle of matchboxes onto the clock. (These should be set flush with the inside matchboxes.) Make a hole with your darning needle on one end of each matchbox drawer. Attach one brad to each drawer and put the matchboxes together. You’re now ready to decorate the matchboxes. You can either write the numbers with glitter glue or simply use numbered stickers.
You are ready to fill up the drawers of the matchbox advent calendar with some goodies.
I always enjoyed this special time of the year. Reading Christmas stories to the children click here, or make a different Advent Calendar click here.

