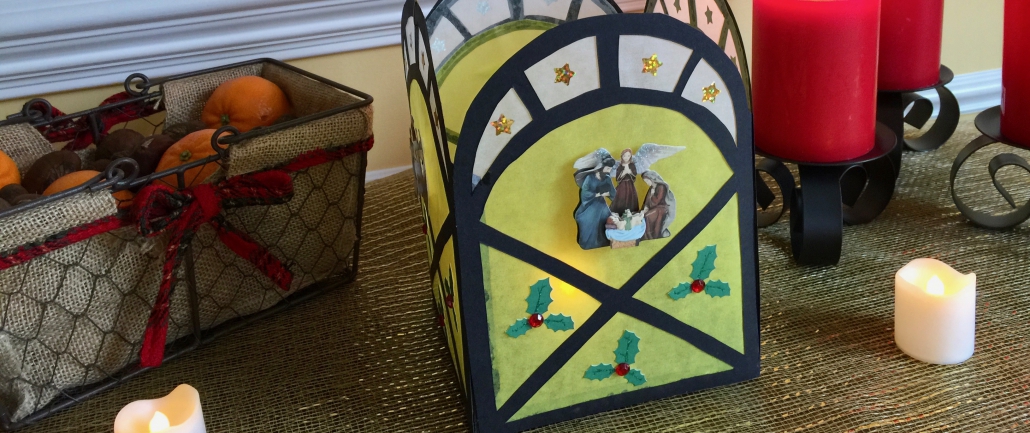
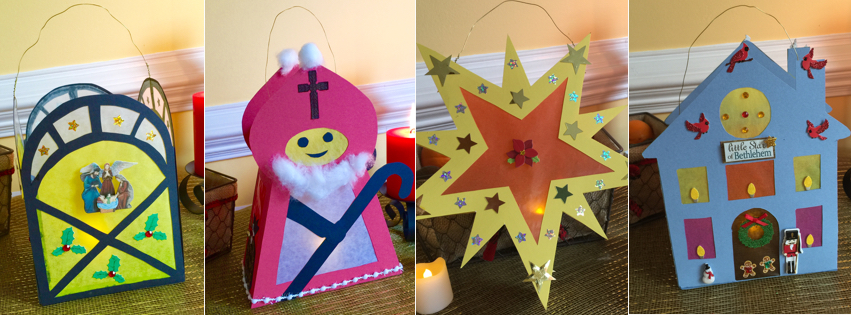
St. Martin’s Day celebrated in Germany with lanterns. Sun, Moon, and Stars.
St Martins Day Lanterns
St Martins Day Lanterns are the highlight of Martin’s day in Germany. You can find the most beautiful lanterns displayed in store windows and available for sale inside. For this special German holiday, children also create St. Martin’s Day lanterns in kindergarten and grade school. They make them at home—and with friends—in all shapes, sizes, and themes. Everything and anything goes, as long as the lantern can hold a (battery-operated) candle. On November 11, the children then proudly parade their new creations around town on a stick.
I remember making them each year with my children. One year, the school my children attended forgot to order the lanterns from Germany in time for them to arrive in time for the St. Martin’s procession at school. Not a problem. I called up my friend and she helped me to make about 52 lanterns for the kindergarten class. We also cut out the clouds for the first graders—who later finished them in class with help from their teacher. Problem solved. Children happy. That’s what St. Martin’s Day is all about. After all, St. Martin of Tours was known as “a friend of the children.”
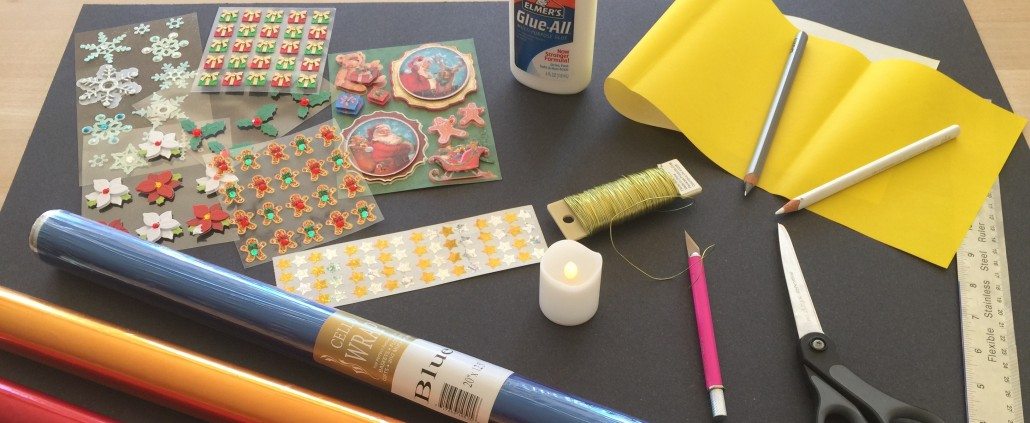
Material needed to make your own St Martins Day lanterns:
- Construction paper or poster board 55.8 cm X 71.1 cm – 22″ x 28 “
- Cellophane wrap—available in arts & craft stores and party supply stores OR kite paper here OR cellophane sheets here
- dressmakers colored tracing paper (available at Walmart sewing department, stores with sewing supplies)
- Scissors
- Craft knife (available in art & craft stores and office supply stores)
- Glue
- Pencil
- Stickers
- Battery operated candle
- Wire
- Lantern Stencil click the link to copy or download pattern of lantern
Instructions:
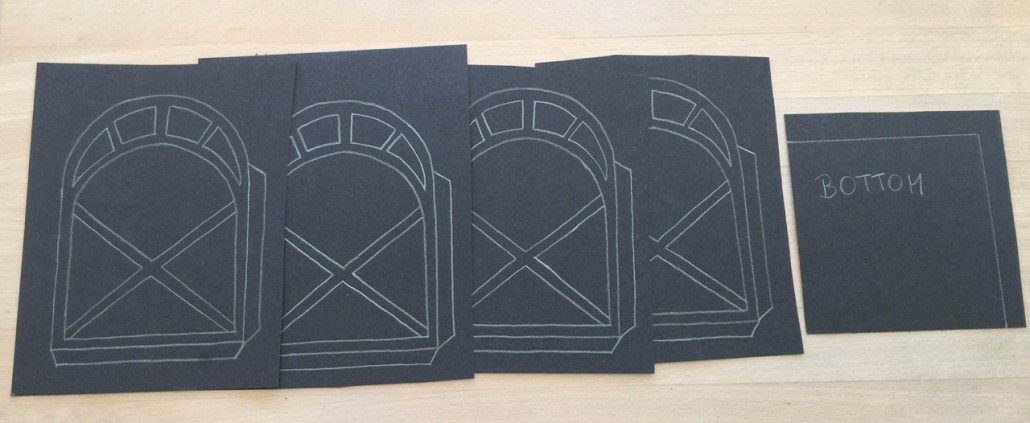
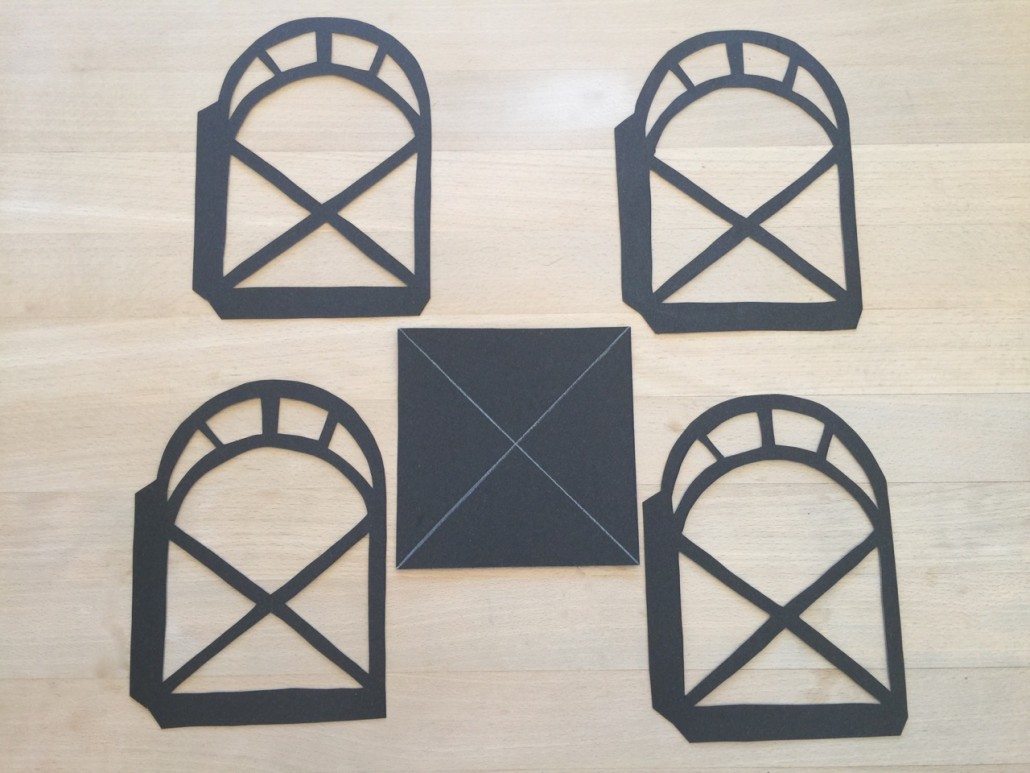
Use the stencil and copy it 4 times with the tracing paper onto your construction paper/posterboard. On a separate sheet, draw a square about 6″ x 6″ to be used as the base of the lantern. Cut the pieces in raw form.
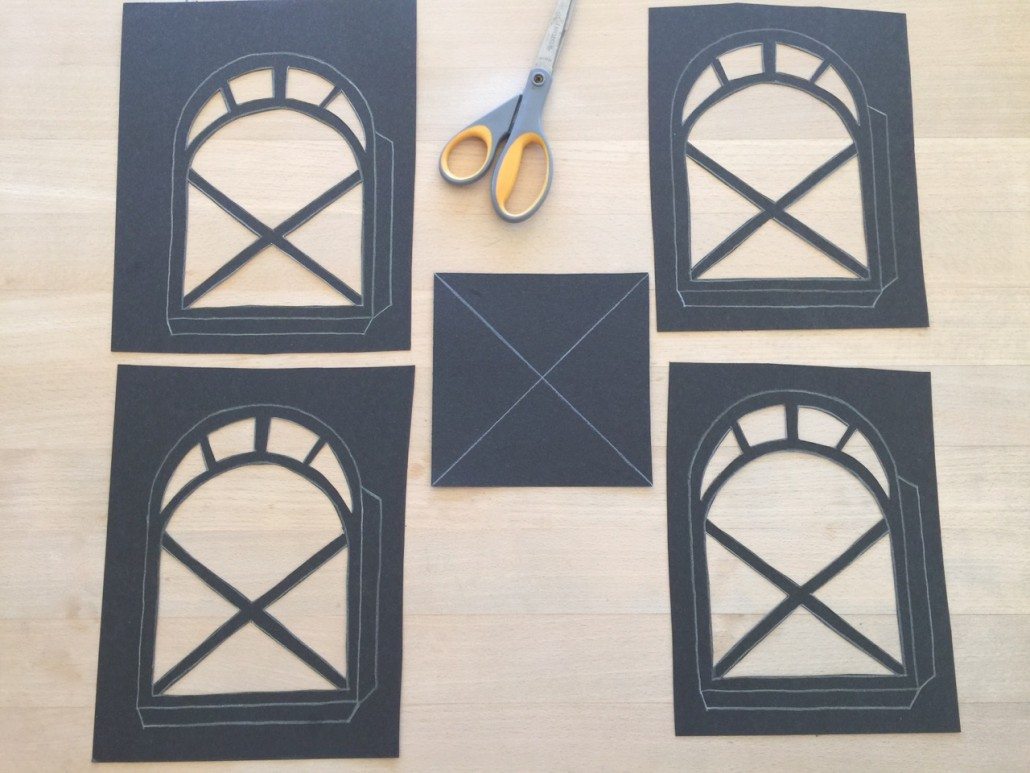
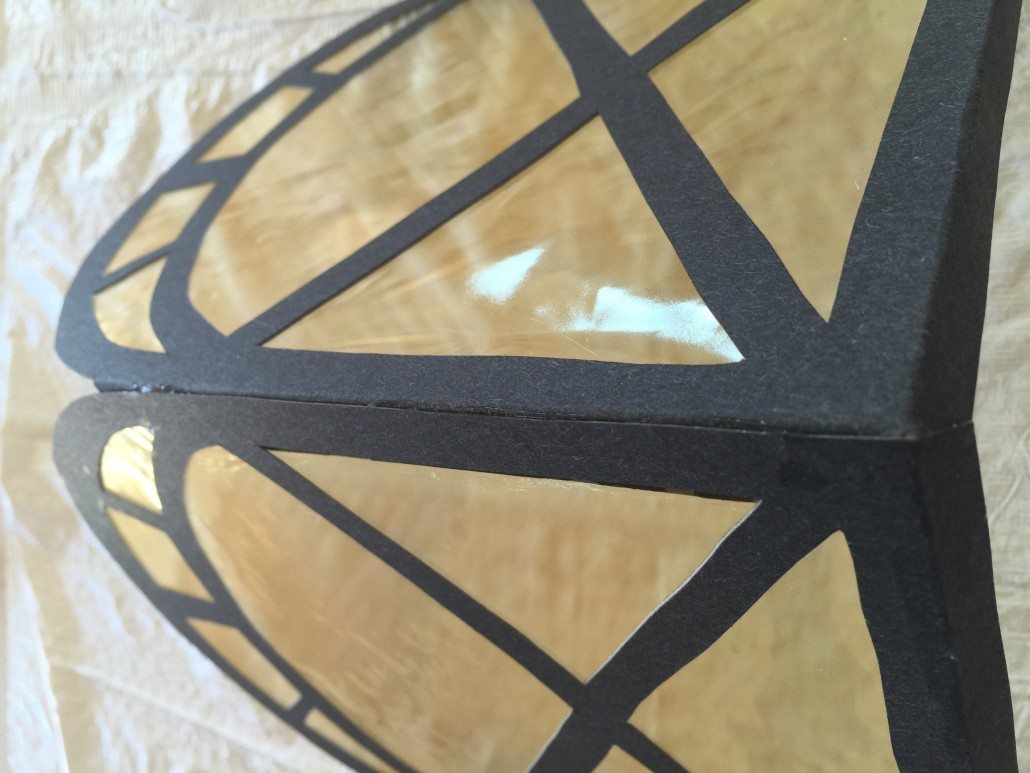
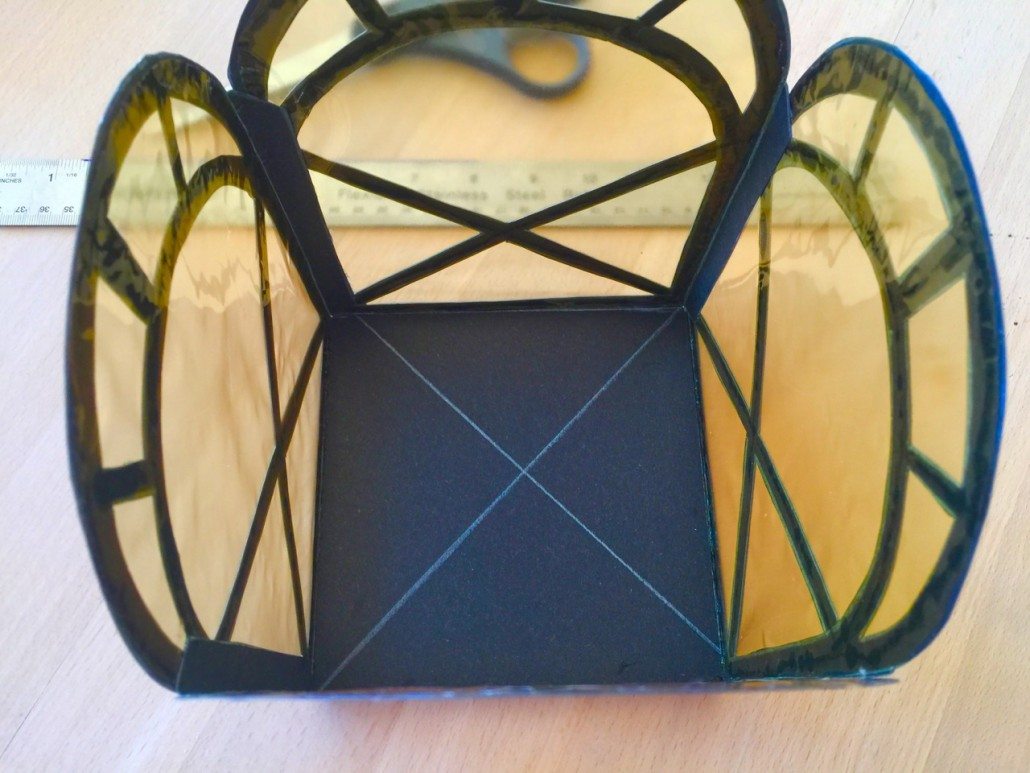
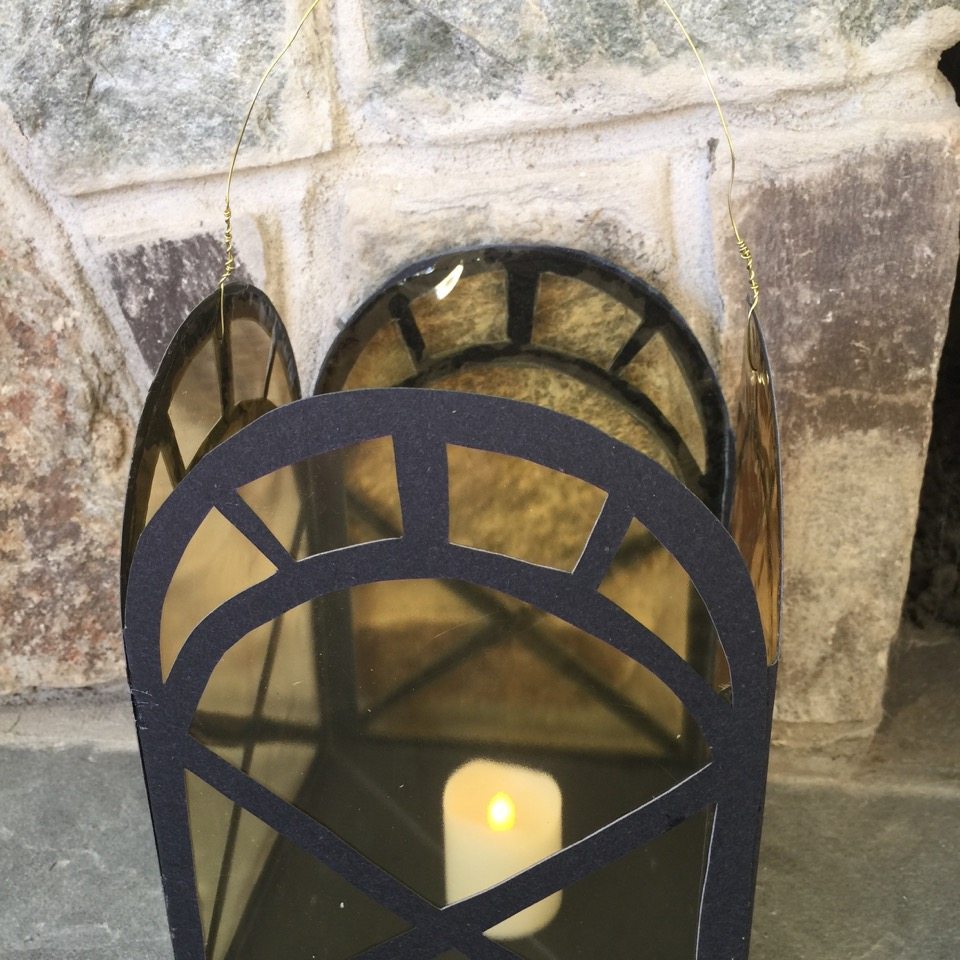
Use your craft knife and first start cutting along the interior lines marked in white on the stencil. (see above) Once you are done, use the scissors and cut the outside lines. Make sure to not cut along the folding edge. (see below) Once you’ve finished, use the craft knife to make an edge on the surface of the folding lines, which makes it easier to fold them. Cut out the base of the lantern and draw two diagonal lines across it.
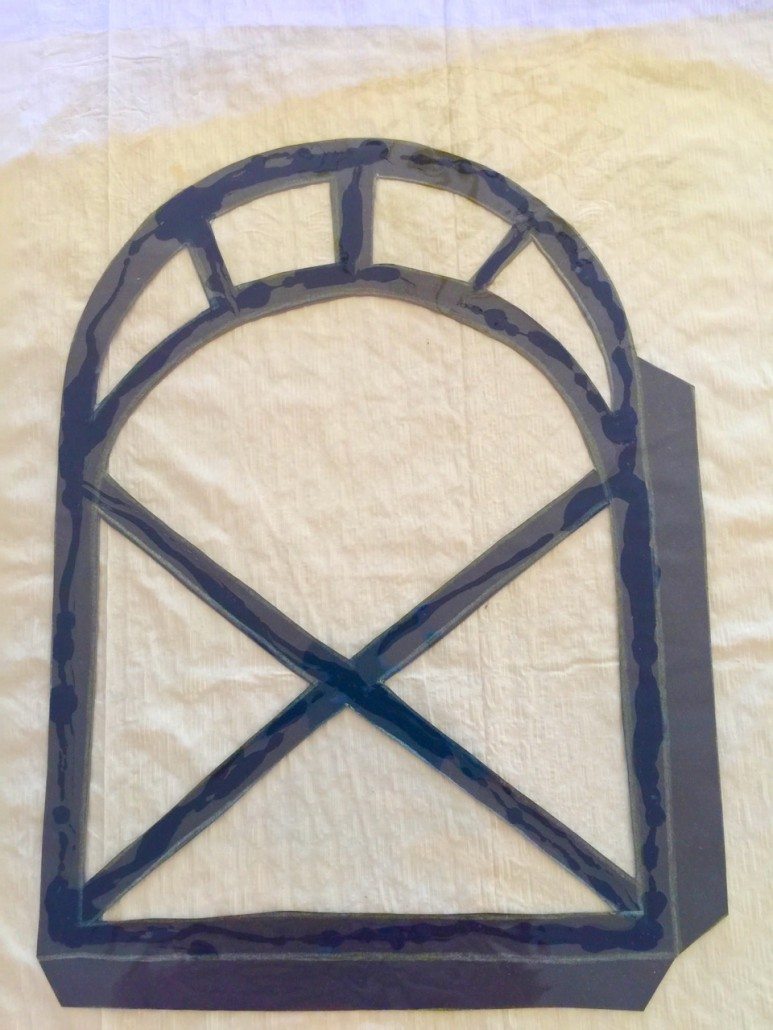
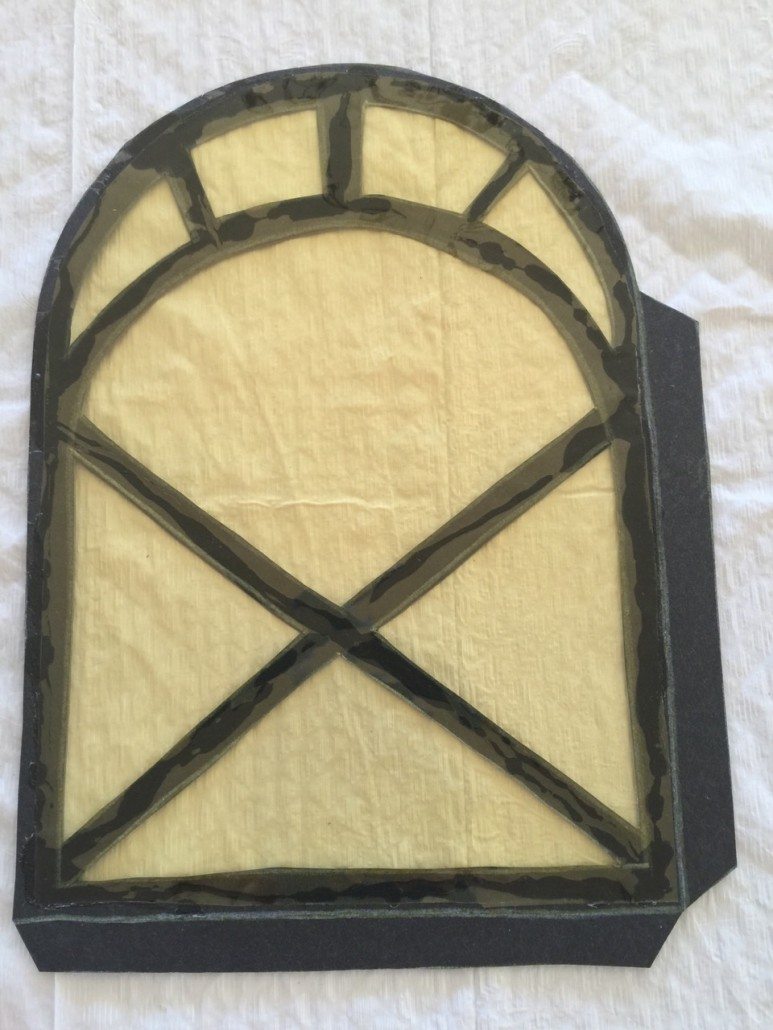
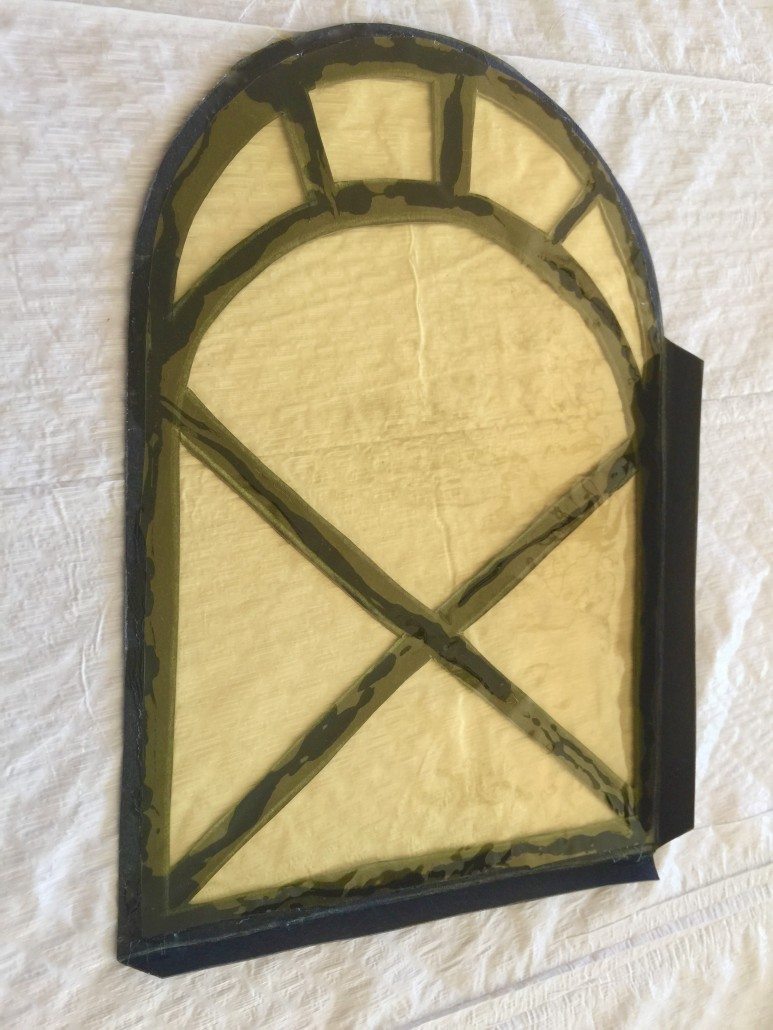
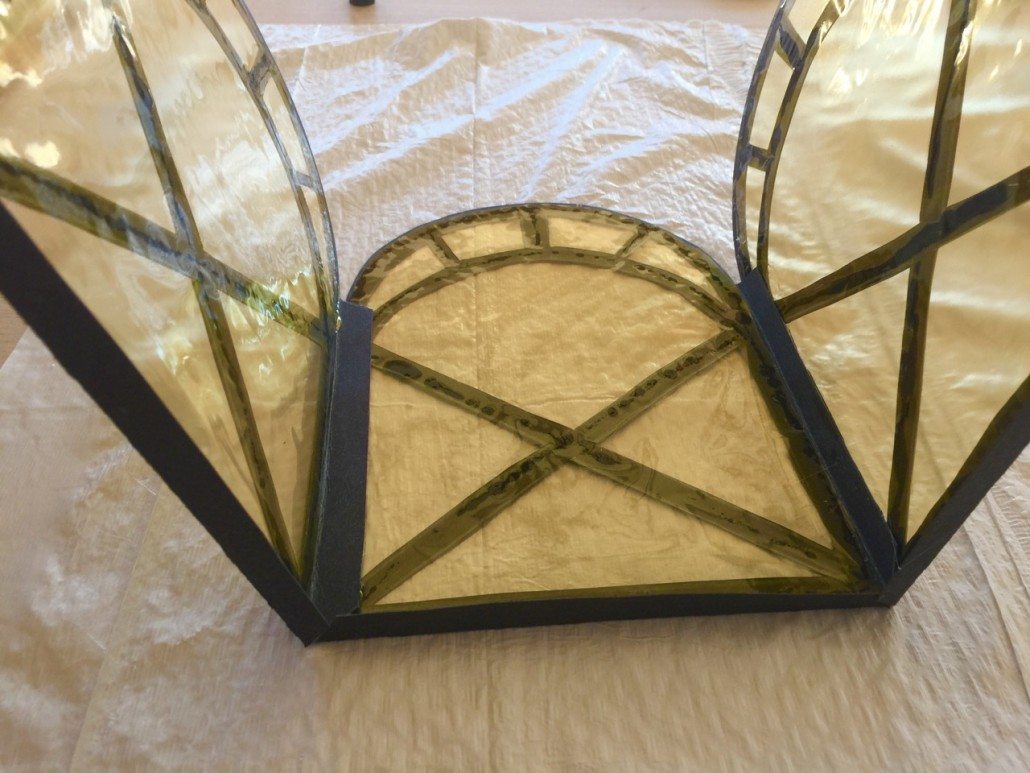
Spread glue on the outlines of the lantern (not on the folding edges), place the cellophane foil over top of it. After having glued the foil, immediately use your craft knife and carefully guide it over the overlapping foil. Make sure not to cut too deep. Fold the outside edges towards the inside.
Spread the glue on the side of the folding edges and attach them to each other. Continue until four sides are glued together.
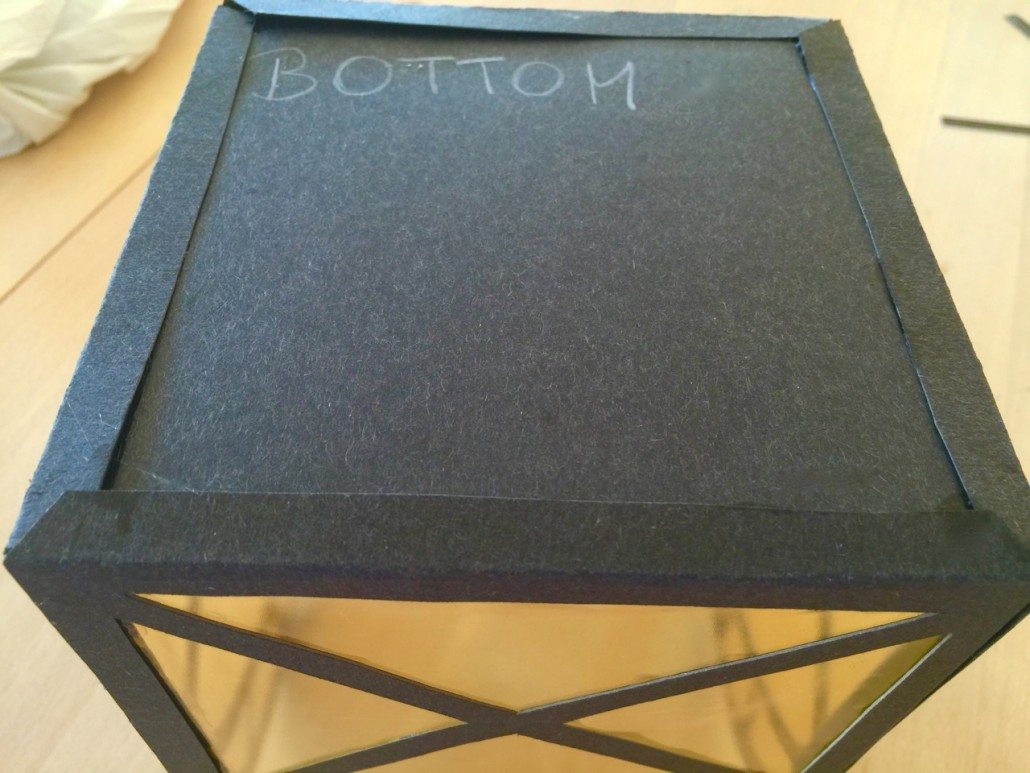
Take your ruler and measure the sides on the bottom of your lantern. Adjust the base to the sides of your lantern. If necessary, cut the overlapping edges. Glue the folding edges on the inside of your lantern, insert the base and affix. With a darning needle make two holes on opposite sides. Use the wire to make the handle of your lantern.
You are ready to decorate your St Martins Day lanterns. Wishing you a Happy St. Martin’s Day. Yours, Oma
To read about the celebration of St. Martin in Germany click here, to make an Adventskalender click here, an Adventskalender Clock click here.


